


 If you hike in the White Mountains, you already know how fast the weather can turn. Sunshine at the trailhead can turn to sleet on the ridge in a matter of hours. That’s why smart layering isn’t just about comfort. I’s about safety. The goal isn’t to feel cozy in the parking lot; it’s to start cool, stay warm, and never sweat through your gear once you hit the trail.
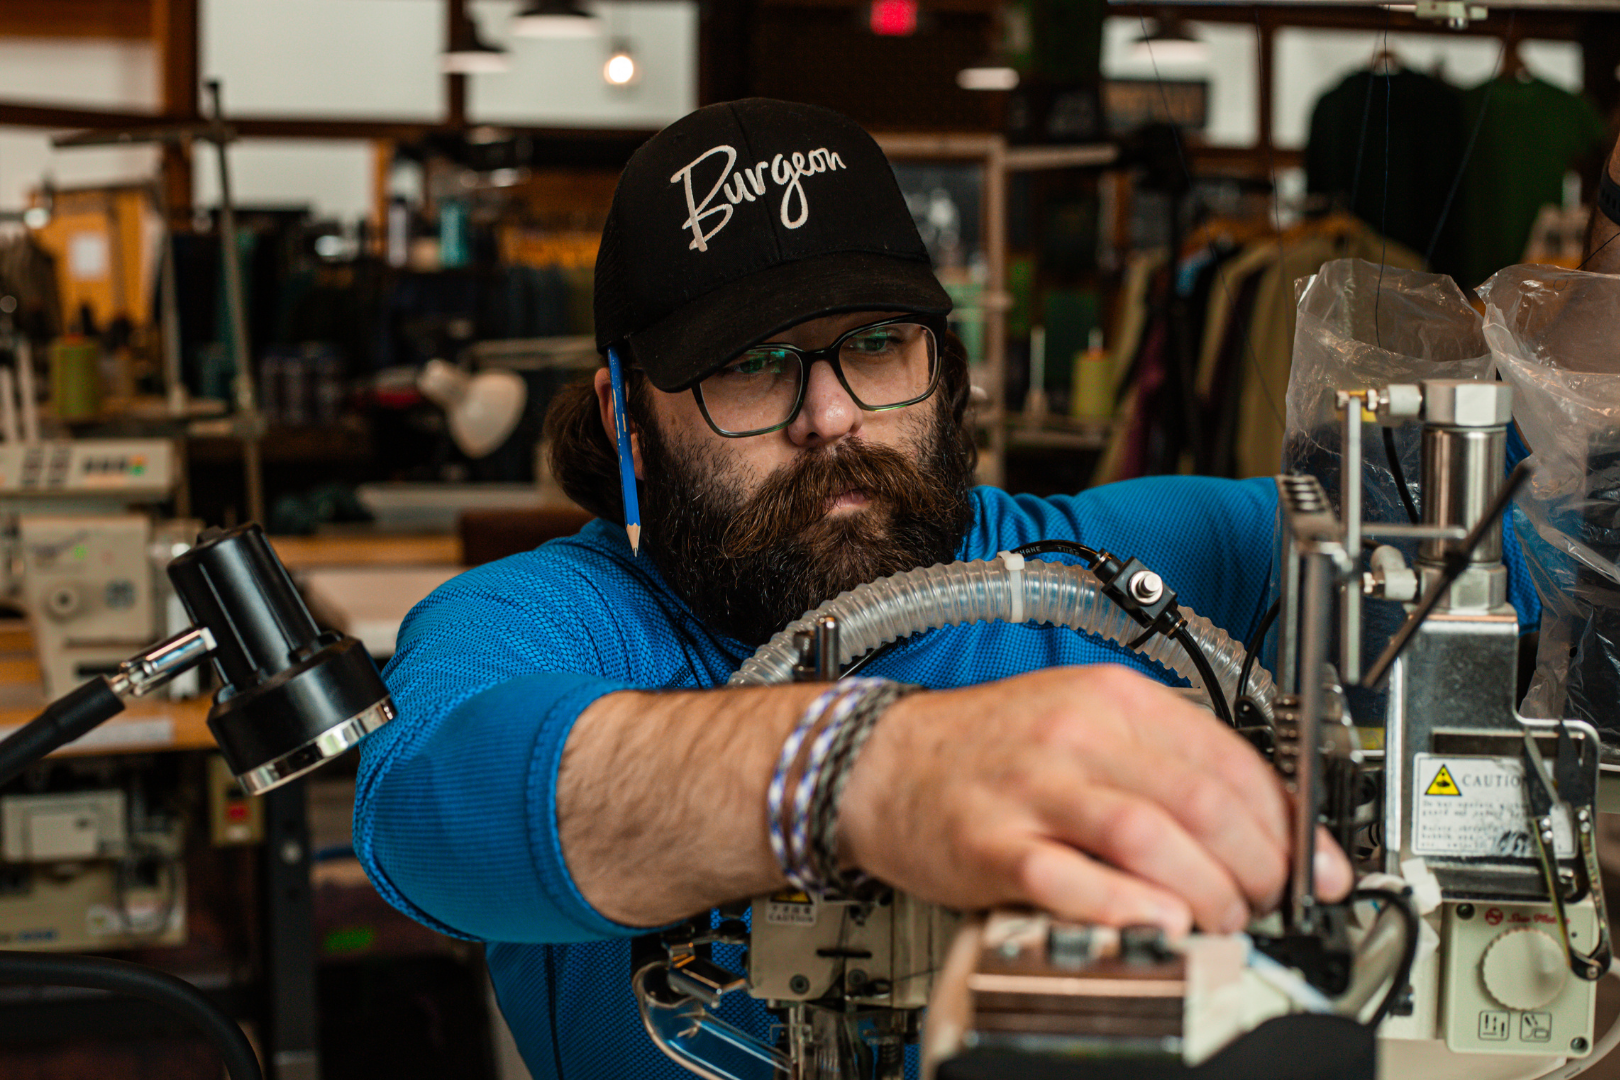
Below is a simple, field-tested layering approach, designed, stitched, and tested right here in New Hampshire, to help you stay dry, warm, and ready for whatever the mountains throw your way.
Why “start cool” keeps you warmer
When you begin a hike feeling a little chilly, you’re doing it right. As your body warms up on the climb, the extra heat gets absorbed by your layers instead of turning into sweat. Wet layers are a recipe for getting cold fast, especially when the wind picks up or you stop moving.
The trick: adjust early and often. Take a minute to remove a layer before you start to sweat, then put it back on when you stop or the temperature drops.
The Four-Layer System
Think of layering as a toolkit. Each piece has a purpose, you just pull out what you need.
1. Base Layer – Your foundation for comfort
This is the layer that sits next to your skin, and it’s your first defense against moisture. Look for something that wicks sweat and dries quickly.
Burgeon pick: The Flume Base Layer Handmade in New Hampshire from U.S.-sourced fabric. It’s soft, breathable, and built to move with you whether you’re skinning up Cannon or heading for a frosty trail run.
2. Mid Layer – Active insulation for movement
This is your temperature regulator—warm but breathable. It traps heat while letting moisture escape.
Burgeon picks:
-
Alpha 90 Hoodie Lightweight, breathable warmth for high-output hikes and cold-weather runs.
-
Highlander Hoodie Our versatile fleece that layers easily under a shell and feels great around camp.
3. Static Warmth Layer – Heat when you stop
This is your “camp” or “summit” layer - the one you pull on when you stop to eat or rest. It should be warm and packable.
Burgeon tip: If you’re already using the Highlander or Alpha 120 as your mid, throw a loftier fleece or puffy in your pack for breaks and emergencies.
4. Shell Layer – Protection from the elements
The outermost layer shields you from wind, snow, and sleet. It doesn’t add much warmth, but it keeps everything else working.
Burgeon pick: The Tuckerman Jacket Our weather-resistant shell, designed and sewn in the Whites to handle everything from light snow to summit gusts.
How to manage your layers on the move
-
Start cool. If you’re comfortable standing still at the trailhead, you’re probably overdressed.
-
Vent early. Unzip, roll sleeves, or drop your hood before you overheat.
-
Layer up when you stop. Add insulation the second you pause to keep warmth in your system.
-
Pack a dry backup. A spare base layer or pair of gloves can make all the difference when conditions turn.
Don’t forget the details
-
Head and hands: Bring a hat, gloves, and neck gaiter. Consider carrying spares if temps are below freezing.
-
Legs: Pair your Flume bottoms with softshell or winter-weight pants. Keep shell pants handy if the forecast calls for wind or snow.
-
Feet: Wool socks only—not cotton—and waterproof boots when needed.
-
Extras: Trekking poles for stability, micro spikes/crampons for icy stretches, and plenty of snacks and water to keep your internal furnace burning.
A White Mountains reality check
The conditions that shape our gear—freezing fog, surprise storms, 60-mph gusts are the same ones that test every hiker out here. That’s why Burgeon designs and makes our apparel in Lincoln and Gorham, NH, surrounded by the very peaks we build for.
We’ve learned that the right layering system isn’t about piling on more clothes. It’s about choosing the right ones and knowing when to use them. Start cool, stay dry, and move confidently.
